Book a Free Consultation Now
Would you like to know more about this topic?
Contact us on WhatsApp and get a free consultation from our experts
Contact on WhatsApp NowFacebook event manager is a Meta tool used to track, manage, and analyze user actions such as page views, leads, and purchases across websites and apps connected to Meta platforms. It helps advertisers verify event tracking, diagnose data issues, and optimize ad performance based on real conversion data. At Nofal SEO, we use Facebook Events Manager to ensure accurate tracking setups and build data-driven campaigns that deliver measurable results.
What Is Facebook’s Event Manager?
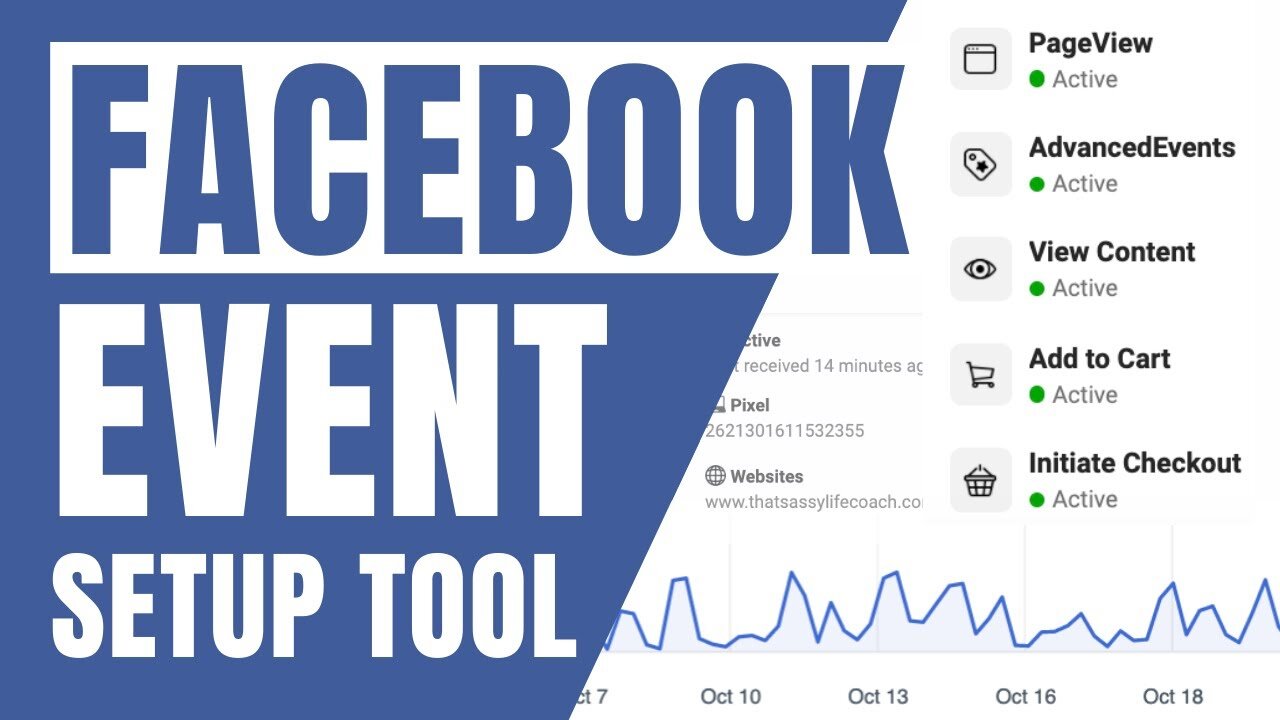
Facebook’s Events Manager is a Meta tool that allows advertisers to track, manage, and analyze user actions that happen on websites, apps, or other digital assets after users interact with ads. Facebook event manager works as a central dashboard where businesses can monitor events such as page views, purchases, leads, and custom actions, helping them understand how users behave across the customer journey and how ads contribute to conversions.
This tool is essential for accurate measurement and optimization because it connects ad performance with real user behavior. By using Events Manager, advertisers can validate tracking setup, diagnose data issues, and ensure that conversion signals are sent correctly to Meta for better ad delivery and reporting accuracy.
Events Manager is closely related to conversion tracking, event diagnostics, and performance measurement. It supports standard events, custom events, and conversion APIs that improve data reliability. At Nofal SEO, we rely on Events Manager to audit tracking setups, ensure clean data flow, and build optimization-ready campaigns based on real conversion signals rather than assumptions.
The main functions of Facebook Events Manager include:
- Tracking website and app user actions
- Monitoring real-time and historical event data
- Diagnosing tracking errors and warnings
- Managing standard and custom events
- Supporting ad optimization and attribution
- Improving measurement accuracy for campaigns
Difference Between Facebook Pixel and Events Manager
The Facebook Pixel and Events Manager serve different but complementary roles within Meta’s tracking ecosystem. Facebook event manager is the interface used to view, manage, and control tracking data, while the Facebook Pixel is the tracking code that actually collects user actions from the website and sends them to Meta’s servers. In simple terms, the Pixel gathers the data, and Events Manager displays, analyzes, and manages that data. Without the Pixel, Events Manager has no data to process, and without Events Manager, advertisers cannot properly monitor or optimize the data collected by the Pixel.
This difference is connected to data collection, tracking infrastructure, and event management workflows. The Pixel focuses on implementation and firing events, while Events Manager focuses on analysis, validation, and optimization. At Nofal SEO, we treat both tools as a unified system—ensuring the Pixel is implemented correctly and Events Manager is configured to turn raw data into actionable insights.
Key differences between Facebook Pixel and Events Manager include:
- Pixel is the tracking code; Events Manager is the control panel
- Pixel collects data; Events Manager analyzes and manages it
- Pixel is installed on the website; Events Manager lives inside Meta Business
- Pixel fires events; Events Manager validates and optimizes them
- Pixel sends signals; Events Manager turns signals into insights

How Do I Get to Event Manager?
Accessing Events Manager is done through Meta Business tools, where all tracking and measurement features are centralized. Facebook event manager can be reached from your Meta Business account by navigating through the main tools menu, allowing advertisers to manage pixels, conversion APIs, and event data from one place.
Once inside Events Manager, users can select the correct data source (Pixel, App, or Conversion API), choose the ad account, and begin reviewing event activity, diagnostics, and performance insights. This access is essential for validating setup and ensuring that tracking is working correctly before relying on data for optimization.
Accessing Events Manager is related to Meta Business tools, data source selection, and account permissions. Proper access depends on having the correct business role, asset permissions, and ad account access. At Nofal SEO, we guide clients to ensure Events Manager access is correctly set up so tracking and optimization can be managed without errors or restrictions.
To access Facebook Events Manager, follow these steps:
- Log in to Meta Business Manager
- Click on “All Tools” from the main menu
- Select “Events Manager”
- Choose the correct ad account or business
- Select the relevant data source (Pixel or API)
- Start monitoring events and diagnostics
Facebook Events Manager Login
Logging into Facebook Events Manager requires a Meta account with the appropriate permissions assigned. Facebook event manager login is tied to Meta Business Manager, meaning users must have access to the business, ad account, or data source to view and manage events.
If login access is restricted or Events Manager does not appear, it usually indicates missing permissions or incorrect business selection. Ensuring the correct role assignment prevents access issues and allows full control over event tracking and optimization features.
Login access is closely connected to user roles, business permissions, and asset assignment. Proper setup includes assigning admin or advertiser roles, linking the correct ad account, and confirming access to data sources. At Nofal SEO, we help businesses resolve login and permission issues to ensure uninterrupted access to Events Manager.
Key requirements for Facebook Events Manager login include:
- Active Meta account
- Assigned role in Business Manager
- Access to the relevant ad account
- Permission to manage data sources
- Correct business selected after login
- Verified access to Events Manager tools
Why Can’t I Find the Event Tab on Facebook?
Not being able to see the Events tab is a common issue faced by advertisers and business owners. Facebook event manager may not appear if the user does not have the correct permissions, is logged into the wrong business account, or is accessing Facebook from a personal profile instead of Meta Business Manager.
In many cases, the Events tab is hidden because the ad account or data source (Pixel) is not properly assigned to the business. It can also happen if the user role is limited (for example, analyst or employee) rather than admin or advertiser, which restricts access to tracking tools.
This issue is closely related to account permissions, business roles, and asset assignment. Missing access to data sources, incorrect business selection, or using an outdated interface can prevent the Events tab from appearing. At Nofal SEO, we frequently troubleshoot these issues by auditing business settings and ensuring proper access so event tracking works without delays.
Common reasons the Events tab does not appear include:
- Using a personal Facebook profile instead of Business Manager
- Missing permissions for Events Manager or Pixel
- Not selecting the correct business or ad account
- Pixel not added as a data source
- Limited user role (not admin or advertiser)
- Interface or navigation changes within Meta

Facebook Events Manager Pixel
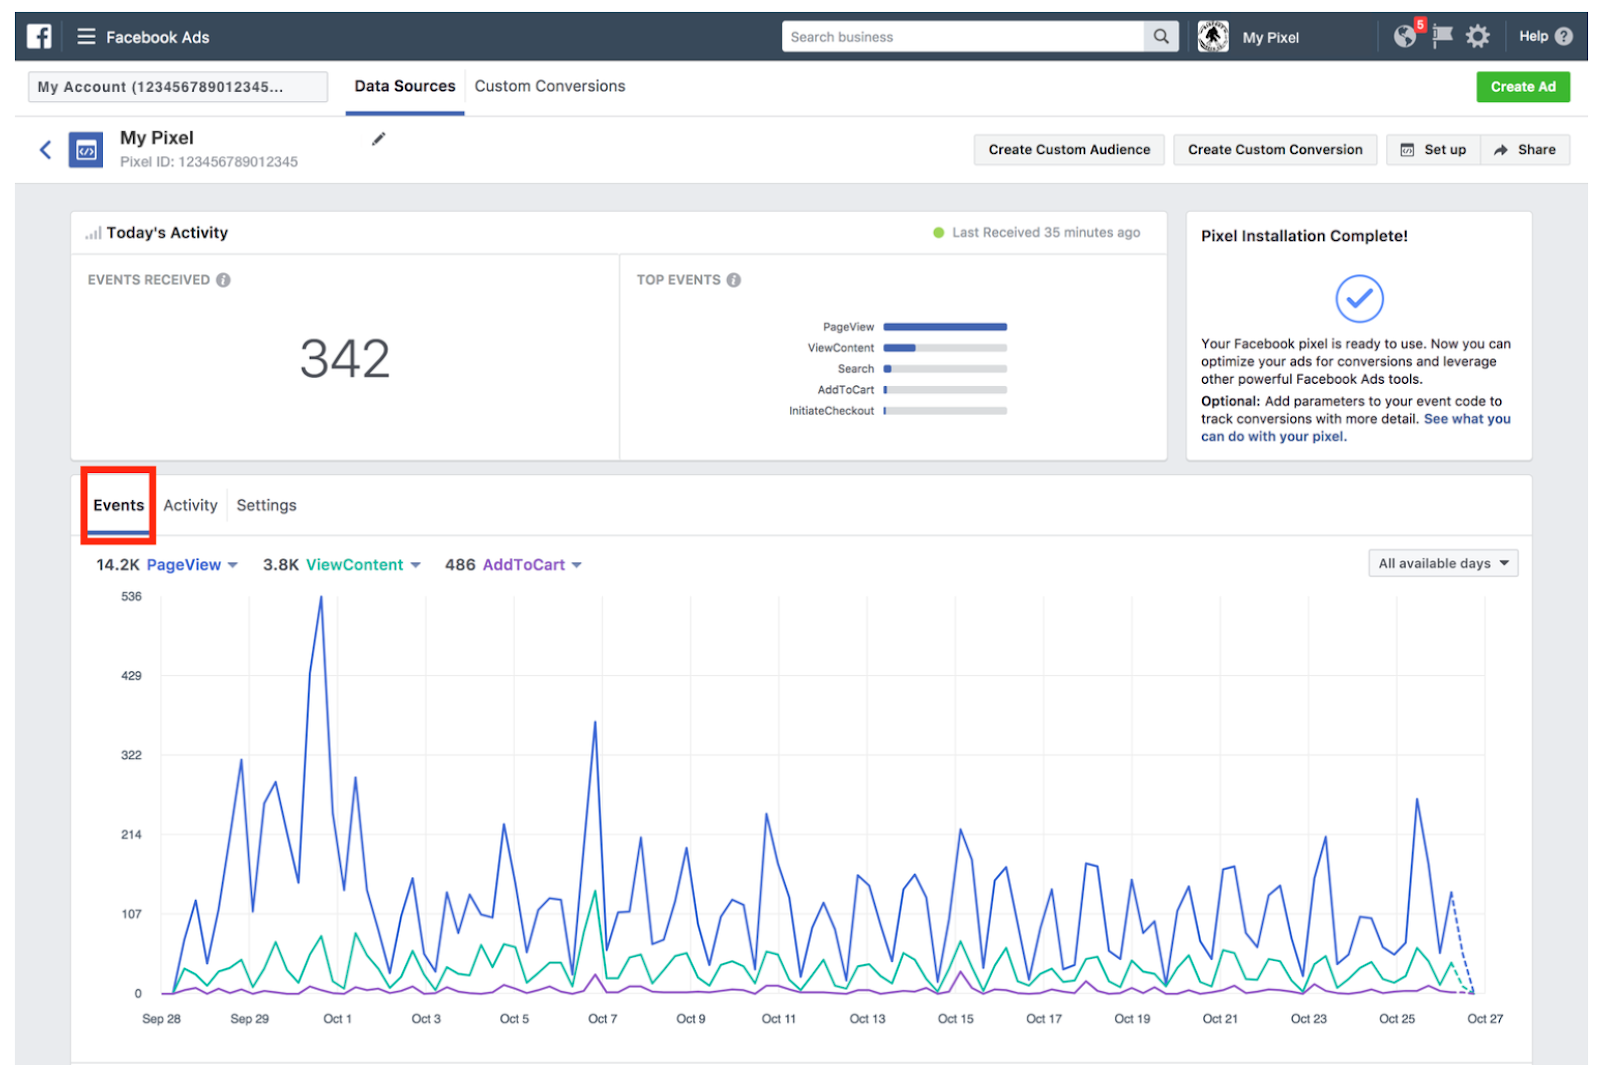
The Pixel inside Events Manager represents the data source responsible for collecting website actions. Facebook event manager displays all Pixel-related activity, including standard events, custom events, diagnostics, and data quality indicators, allowing advertisers to monitor how user interactions are tracked.
Once a Pixel is connected, Events Manager shows whether events are firing correctly, highlights errors or warnings, and provides insights into recent activity. This visibility helps advertisers confirm that their website tracking is functioning as expected before optimizing campaigns.
This functionality is tied to pixel configuration, event tracking accuracy, and data diagnostics. Events Manager supports event testing, real-time validation, and historical reporting for each Pixel. At Nofal SEO, we use Pixel data inside Events Manager to validate implementations, fix tracking gaps, and ensure conversion signals are reliable for ad optimization.
Key features of the Pixel in Events Manager include:
- Viewing real-time and historical event activity
- Managing standard and custom events
- Diagnosing Pixel errors and warnings
- Testing events through the Test Events tool
- Monitoring data quality and signal health
- Supporting optimization for conversions
How to Use Meta Events Manager?
Meta Events Manager is used to monitor, configure, and optimize tracking data coming from websites and apps connected to Meta platforms. Facebook event manager allows advertisers to view event activity, diagnose tracking issues, and ensure that conversion data is sent correctly to improve ad performance and attribution accuracy. Using Events Manager correctly helps businesses validate their tracking setup, manage standard and custom events, and make informed optimization decisions based on real user behavior rather than assumptions or incomplete data.
Using Meta Events Manager is closely related to event tracking setup, conversion measurement, and data validation tools. It supports Pixel events, Conversion API events, and event testing workflows that ensure reliable data flow. At Nofal SEO, we use Meta Events Manager to audit tracking accuracy, fix event errors, and prepare accounts for conversion-based advertising.
To use Meta Events Manager effectively, follow these steps:
- Log in to Meta Business Manager
- Open All Tools from the main menu
- Select Events Manager
- Choose the correct Ad Account
- Select the appropriate Data Source (Pixel or Conversion API)
- Review recent Event Activity
- Check Diagnostics for errors and warnings
- Use Test Events to validate tracking
- Manage Standard and Custom Events
- Monitor data quality before optimization
How to Use Facebook Events Manager: Step-by-Step Guide
Facebook Events Manager provides a structured environment for managing, testing, and optimizing event tracking across websites and apps. Facebook event manager enables advertisers to clearly see how user actions are recorded, attributed, and used to improve ad delivery and conversion optimization. Following a step-by-step approach ensures that events are set up correctly, data is accurate, and tracking issues are resolved early. This process is essential before launching conversion-based campaigns or scaling ad spend.
This workflow is closely related to event setup, pixel validation, and conversion tracking accuracy. It involves event testing, data source configuration, and diagnostics review to ensure reliable measurement. At Nofal SEO, we follow a structured step-by-step process to guarantee that event tracking is stable and ready for performance-driven campaigns.
To use Facebook Events Manager step by step:
- Log in to Meta Business Manager
- Open Events Manager from All Tools
- Select the correct Business and Ad Account
- Choose the relevant Pixel or Conversion API
- Review Overview and recent event activity
- Open Test Events to verify event firing
- Check Diagnostics for errors or warnings
- Add or edit Standard Events if needed
- Create Custom Events when required
- Confirm data quality before running ads

How to Test Events in Facebook Events Manager
Testing events is a critical step to ensure that tracking is working correctly before relying on the data for optimization or reporting. Facebook event manager provides a built-in testing feature that allows advertisers to see events firing in real time when users interact with the website, helping verify that Pixel and Conversion API events are recorded accurately.
Event testing helps identify missing events, duplicate triggers, or incorrect configurations that could negatively affect campaign performance. By testing events before launching ads, businesses can avoid data inaccuracies that lead to poor optimization and wasted ad spend.
Event testing is closely connected to real-time validation, tracking accuracy, and conversion reliability. It supports pixel testing, browser activity checks, and event diagnostics to confirm proper implementation. At Nofal SEO, we always test events before campaign launch to ensure clean data and reliable optimization signals.
To test events in Facebook Events Manager:
- Open Meta Business Manager
- Go to Events Manager
- Select the relevant Pixel or Conversion API
- Click on Test Events
- Enter the website URL
- Open the website in a new browser tab
- Perform actions such as page views or clicks
- Monitor events firing in real time
- Confirm event names and parameters
- Fix any errors shown in Diagnostics
Create Your Custom Events with EasyInsights
Custom events allow businesses to track specific actions that are not covered by standard Facebook events. Facebook event manager supports custom event creation through third-party tools like EasyInsights, which simplify the process without requiring complex coding or technical setup.
Using EasyInsights, advertisers can define custom events based on URLs, user actions, or specific behaviors and send them directly to Events Manager. This makes it easier to measure unique conversion points and optimize campaigns around business-specific goals.
Custom events are linked to advanced tracking, conversion customization, and data enrichment. Tools like EasyInsights, event mapping, and server-side integrations help extend tracking capabilities. At Nofal SEO, we use custom events strategically to track high-value actions and improve conversion-focused campaign performance.
To create custom events using EasyInsights:
- Connect EasyInsights to your Meta account
- Link the correct Pixel or Conversion API
- Define the custom event name
- Set event rules based on user actions or URLs
- Map the event to Meta Events Manager
- Test the custom event for accuracy
- Verify event appearance in Events Manager
- Assign the event for ad optimization if needed
- Monitor performance and data quality
- Refine event rules based on results
Common Facebook Events Manager Issues
Facebook Events Manager issues are common, especially when tracking is newly set up or modified. Facebook event manager problems usually occur due to incorrect permissions, pixel misconfiguration, missing events, or conflicts between browser-based tracking and server-side integrations, which can affect data accuracy and campaign optimization.
These issues can prevent events from firing correctly, cause duplicate tracking, or result in missing conversion data. Identifying and fixing them early is essential to avoid misleading reports and poor ad performance.
Common issues are closely related to tracking setup errors, permission misalignment, and data source conflicts. Resolving them often requires checking pixel installation, event configuration, and business access settings. At Nofal SEO, we audit Events Manager setups to identify errors, clean tracking signals, and ensure reliable data flow for optimization.
Common Facebook Events Manager issues include:
- Pixel not firing or showing no activity
- Events not appearing in Events Manager
- Duplicate or repeated events firing
- Missing permissions for Pixel or Events Manager
- Wrong business or ad account selected
- Conversion API and Pixel conflicts
- Events marked as inactive or unverified
- Delays in event reporting or attribution
- Domain not verified for event prioritization
- Errors or warnings shown in Diagnostics
In conclusion, Facebook event manager plays a critical role in tracking user actions and improving ad performance through accurate data analysis. When events are set up and managed correctly, businesses can make smarter decisions and achieve better campaign results. If you want to ensure your event tracking is accurate and optimized, contact Nofal SEO today and let our experts handle your Facebook Events Manager setup professionally.
Do you need a consultation about this topic?
Contact on WhatsApp