
Ads on Facebook and Their Impact on Modern Digital Marketing
Book a Free Consultation Now
Would you like to know more about this topic?
Contact us on WhatsApp and get a free consultation from our experts
Contact on WhatsApp NowAds on Facebook are paid advertising campaigns that allow businesses to promote their products or services to highly targeted audiences across Facebook, Instagram, Messenger, and the Meta Audience Network. These ads help companies increase brand awareness, drive traffic, generate leads, and boost sales with measurable and controllable results. For businesses looking to run effective, data-driven Facebook advertising campaigns, Nofal Seo provides strategic planning, precise targeting, and continuous optimization to turn ad spend into real business growth.
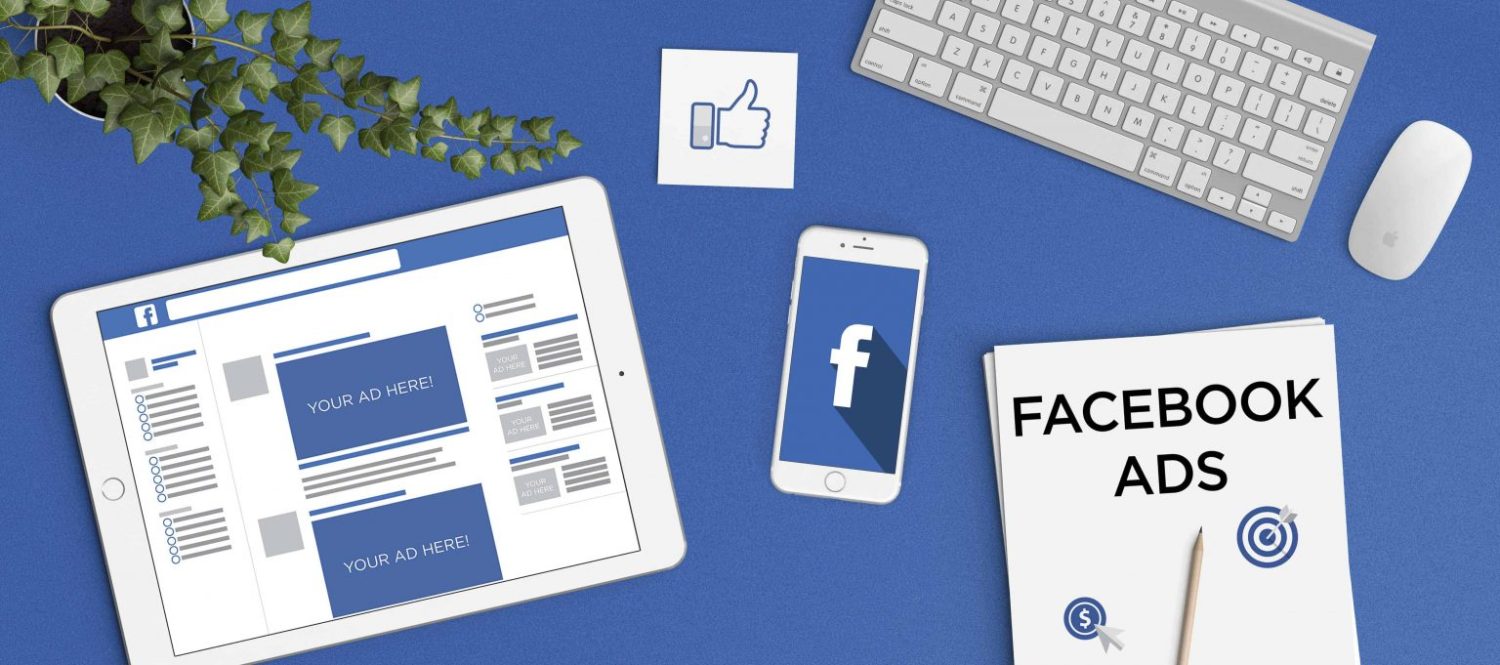
What are Facebook Ads?
Ads on Facebook are paid promotional messages displayed across Facebook’s ecosystem, including Facebook itself, Instagram, Messenger, and the Audience Network. These ads allow businesses to promote products, services, or brands to highly specific audiences based on demographics, interests, behaviors, and online activity. Unlike organic posts, Facebook ads are designed to achieve measurable objectives such as awareness, traffic, engagement, leads, or conversions, making them a core tool in modern digital marketing strategies.
From a strategic standpoint, Facebook ads operate within an auction-based system where advertisers compete for placements based on ad bidding, relevance, and expected performance. Using advanced audience targeting and campaign optimization tools, advertisers can control budgets, test creatives, and refine audiences to improve results over time. This flexibility makes Facebook advertising suitable for businesses of all sizes, from startups to global brands.
To clearly understand Facebook ads, consider the following key points:
-
Ads appear across multiple Meta-owned platforms
-
Targeting is based on data-driven audience insights
-
Campaigns are optimized toward specific objectives
-
Performance is measurable in real time
-
Budgets can be scaled up or down easily
Marketing Facebook
Ads on Facebook play a central role in Facebook marketing by turning the platform into a powerful customer acquisition and brand-building channel. Facebook marketing goes beyond posting content; it involves combining paid advertising, audience engagement, analytics, and funnel strategies to guide users from awareness to conversion. Businesses that integrate ads into their Facebook marketing strategy gain greater control over reach, visibility, and outcomes.
When supported by Facebook marketing strategy and social media advertising, campaigns become more structured and data-driven. This approach allows brands to test messaging, analyze engagement patterns, and refine offers based on audience response. Companies that work with Nofal Seo benefit from strategic Facebook marketing plans that connect paid ads with SEO insights for stronger long-term growth.
To succeed in Facebook marketing, focus on:
-
Aligning ads with overall brand messaging
-
Using paid campaigns to amplify high-performing content
-
Retargeting users who previously engaged
-
Monitoring engagement and conversion metrics
-
Continuously optimizing based on performance data
Campaign Facebook
Ads on Facebook are organized through campaigns that define the primary goal of the advertising effort, such as awareness, traffic, leads, or sales. Each campaign contains ad sets that control targeting, budget, and placements, and ads that include the creative elements. This structure ensures that every campaign is goal-driven and measurable rather than random or disconnected.
Using Facebook ad campaigns and campaign objectives, advertisers can align business goals with platform algorithms. Proper campaign structuring improves delivery efficiency and helps Facebook optimize ads toward users most likely to take action. At Nofal Seo, campaigns are designed with clear objectives and scalable structures to ensure consistent and profitable performance.
To build an effective Facebook campaign, consider:
-
Choosing the correct campaign objective
-
Structuring ad sets for clear audience segmentation
-
Allocating budget based on performance potential
-
Testing multiple creatives within each campaign
-
Reviewing results and refining continuously
How Do I Do Ads on Facebook?
Running Ads on Facebook begins with creating a Facebook Business account and accessing Ads Manager, which serves as the core platform for building, managing, and scaling campaigns. Inside Ads Manager, advertisers define campaign objectives, create structured ad sets, select audiences, assign budgets, and design creatives that align with business goals. Every step in this setup directly influences delivery quality, cost efficiency, and the overall success of the campaign, which is why planning cannot be rushed or improvised.
A well-structured setup ensures that campaigns are aligned with platform algorithms and user behavior. When ads are built correctly from the start, businesses gain better control over reach, frequency, and spending while avoiding common pitfalls such as poor targeting or wasted budget. Companies that work with Nofal Seo benefit from expert guidance during setup, ensuring campaigns are launched with a solid strategic foundation rather than trial-and-error execution.
To properly create Facebook ads, keep these detailed steps in mind:
-
Create Facebook Business Manager to manage pages, ad accounts, billing, and permissions centrally
-
Access Ads Manager and select a campaign objective that matches your real business goal
-
Build ad sets with clearly defined audience segments based on data and intent
-
Assign realistic daily or lifetime budgets and choose an appropriate schedule
-
Design ad creatives with strong visuals, persuasive copy, and clear calls-to-action
-
Launch campaigns, monitor results closely, and optimize continuously
Running Ads on Facebook
Running Ads on Facebook is an ongoing process that extends far beyond launching the campaign. Once ads go live, performance must be reviewed daily to ensure budgets are being spent efficiently and objectives are being met. Metrics such as CTR, conversion rate, cost per result, and ROAS provide insights into how audiences are responding and where adjustments are needed.
Through continuous optimization, advertisers can refine targeting, refresh creatives, and adjust bids to maintain performance over time. Without this active management, even strong campaigns can decline due to audience fatigue or increased competition. Professional advertisers rely on structured monitoring frameworks to ensure campaigns remain profitable and adaptable.
To successfully run Facebook ads over time, focus on the following practices:
-
Review performance metrics daily rather than weekly
-
Test multiple creatives and formats to identify top performers
-
Pause or modify underperforming ads before budget is wasted
-
Scale budgets gradually on winning ad sets
-
Use real data, not assumptions, to guide every decision
Benefits of Running a Facebook Ad Campaign
Using Ads on Facebook allows businesses to reach highly specific audiences with exceptional flexibility and control. Unlike many traditional channels, Facebook advertising enables precise targeting based on demographics, interests, behaviors, and prior interactions. This makes campaigns efficient, measurable, and accessible for businesses of all sizes.
With paid social advertising and conversion tracking, advertisers gain full visibility into how users move from awareness to action. Well-managed campaigns increase brand visibility, generate qualified leads, and drive consistent sales while maintaining budget efficiency. At Nofal Seo, Facebook ad campaigns are structured to balance short-term performance with long-term brand growth.
The primary benefits of Facebook ad campaigns include:
-
Highly accurate audience targeting
-
Flexible budget management at every stage
-
Real-time performance measurement
-
Easy scalability across placements and platforms
-
Strong potential for sustainable ROI
Tips for Effective Facebook Ad Management
Managing Ads on Facebook effectively requires a balance between creative experimentation and analytical discipline. Advertisers must constantly evaluate results, test new messaging, and refine targeting strategies to maintain relevance and performance. Successful management is built on continuous learning rather than one-time setup.
By leveraging A/B testing and Facebook ad optimization, marketers can systematically improve engagement and conversion rates. Agencies like Nofal Seo apply structured testing frameworks that prevent guesswork and ensure campaigns evolve alongside audience behavior and platform changes.
Key management practices include:
-
Refreshing creatives regularly to avoid ad fatigue
-
Monitoring relevance scores and engagement trends
-
Testing new audiences and lookalike segments
-
Evaluating performance by placement and device
-
Adjusting budgets based on real conversion data
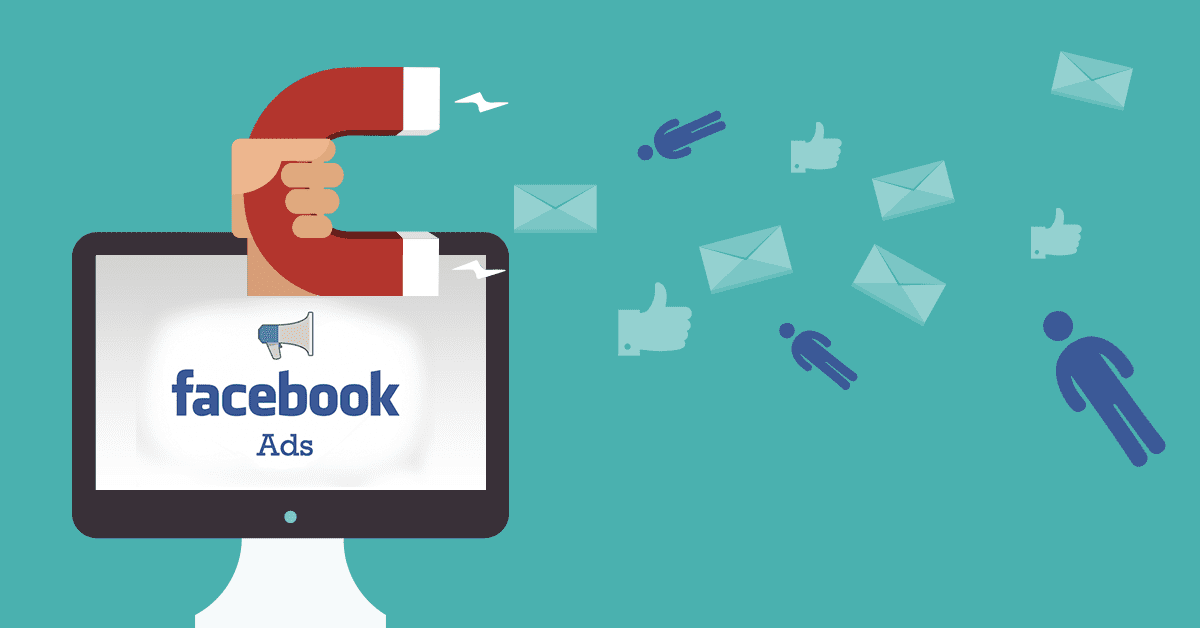
Why Am I Suddenly Seeing So Many Ads on Facebook?
Seeing Ads on Facebook more frequently is often the result of changes in advertiser demand, platform algorithms, or your own online behavior. Facebook’s system personalizes ads based on user interests, searches, interactions, and website visits, which can make ads feel more noticeable when they are highly relevant.
Factors such as ad personalization and retargeting ads play a major role in ad frequency. Seasonal campaigns, sales periods, and increased competition among advertisers can also lead to a higher volume of ads appearing in feeds during certain times.
Common reasons include:
-
Increased advertiser activity during peak seasons
-
Interest-based targeting driven by user interactions
-
Retargeting triggered by recent website visits
-
Engagement with similar brands or content
-
Algorithm updates affecting ad delivery
How Much Does Facebook Ads Cost per 1,000 Impressions?
The cost of Ads on Facebook per 1,000 impressions (CPM) varies widely depending on industry, audience competition, timing, and ad quality. CPM rates are not fixed and fluctuate based on demand, making costs higher during competitive periods and lower when relevance and engagement are strong.
By understanding Facebook CPM and ad bidding, advertisers can actively control costs through better targeting, improved creatives, and higher relevance scores. Well-structured campaigns often achieve lower CPMs while maintaining reach and performance.
CPM costs are influenced by:
-
Audience size, intent, and competition
-
Engagement rate and relevance score
-
Industry demand and seasonal trends
-
Placement selection across feeds and stories
-
Overall campaign structure and optimization quality
In conclusion, Ads on Facebook are one of the most powerful tools for reaching the right audience, controlling ad spend, and achieving measurable marketing results when managed strategically. If you want campaigns built on data, optimized for performance, and aligned with your business goals, let Nofal Seo handle your Facebook advertising strategy and execution—contact us today and start turning your ad budget into consistent growth and real results.
Do you need a consultation about this topic?
Contact on WhatsApp